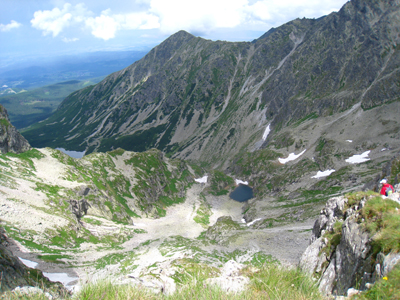
This tutorial is about a Photoshop technique called colour grading, which will give you a professional looking photo in just a few minutes.
These two photos – ‘before’ and ‘after’ – show how effective colour adjustment can be; the second image is notably improved in both colour and tone.

1. Setting Eyedropper
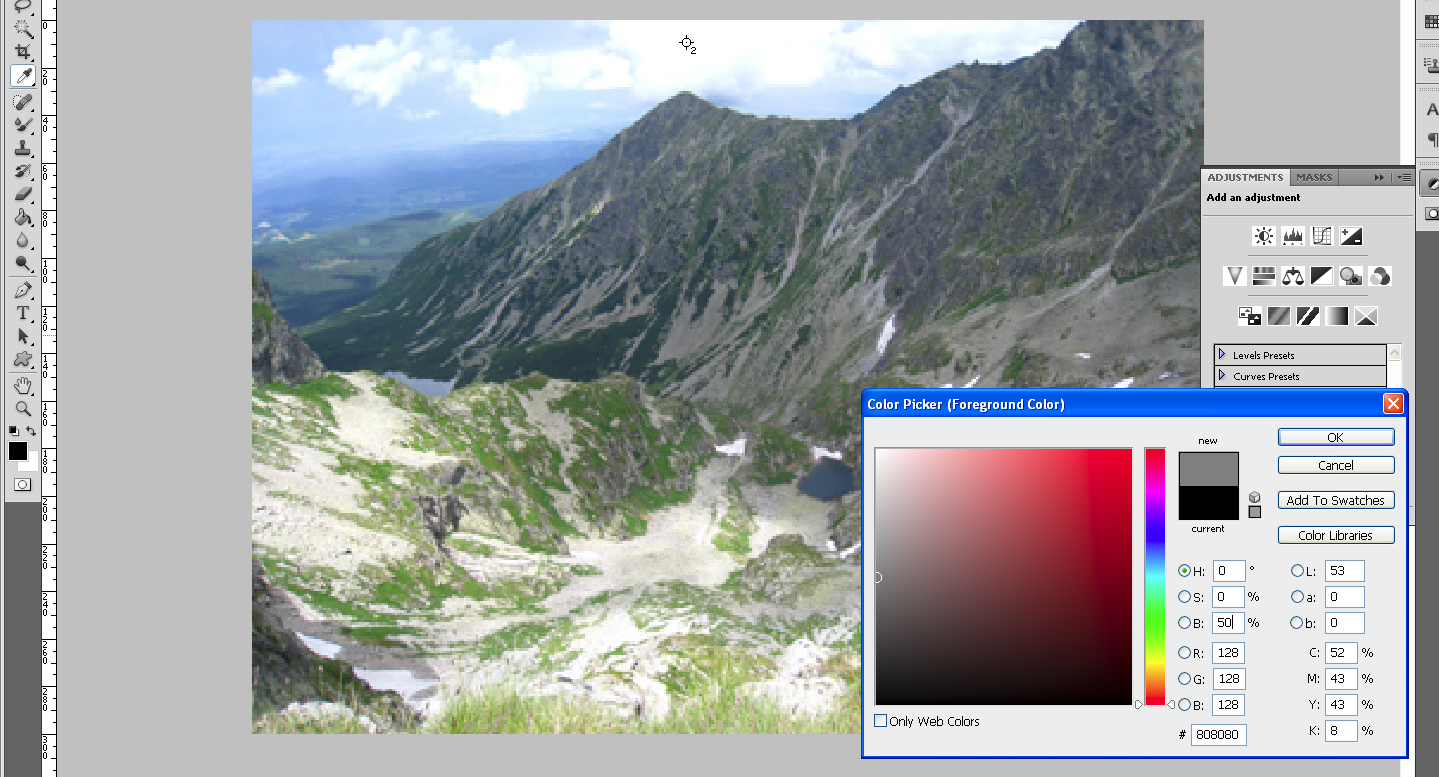
Before we start the actual tutorial, lets set the eyedropper size to 3 x 3 Average. This will make colour sampling smoother.

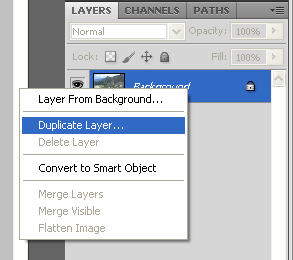
2. Duplicate Layer
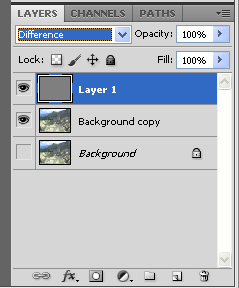
Start by duplicating the background layer and hide the original photo. This makes it easier to start again if our initial alterations aren’t up to scratch.
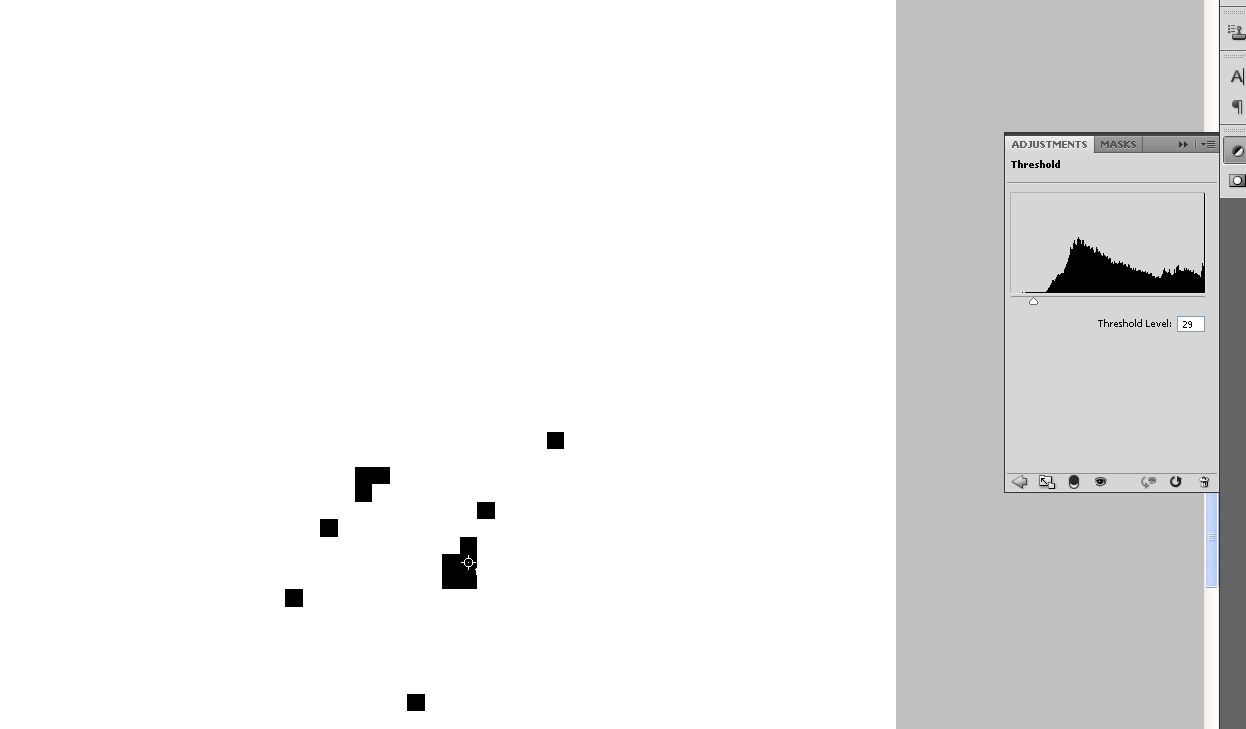
3. Add Threshold
Now we need to find three points on the photo; black, grey and white points. They will help us to adjust the colours later on in this tutorial. Go to Layer -> New Adjustment Layer -> Threshold and add threshold. You will see that the image turns white/black.
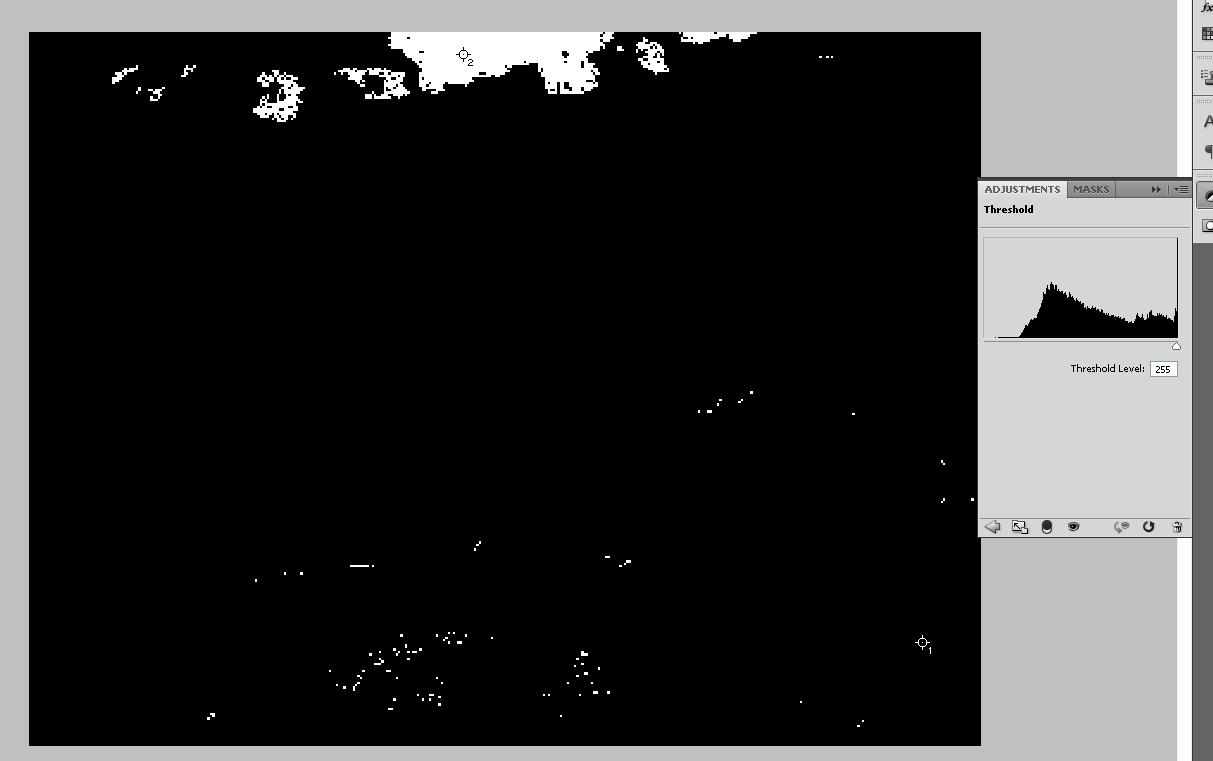
Lets scroll the threshold all the way to the left. The photo should turn all white. Next slowly scroll to right so the first details appear (those are our darkest points on the image).

4. Find Black Point
Now zoom in to the black details with the eyedropper selected. While pressing the Shift key, click on the black details. The circle will appear as below.
5. Find White Point
Next, to find the white point, scroll to the right of threshold. While pressing the Shift key, click on the white detail of the photo. Those are our brightest points on the image.
6. Add Grey Layer
We just set up the black and white points. Lets delete the threshold and define one more point, the grey one. To do that add a new layer and fill it all with 50% Grey.
It is now very important to change the layer type from Background to Difference. This will make both the grey layer and the layer underneath (in our case the photo itself) merge visually.
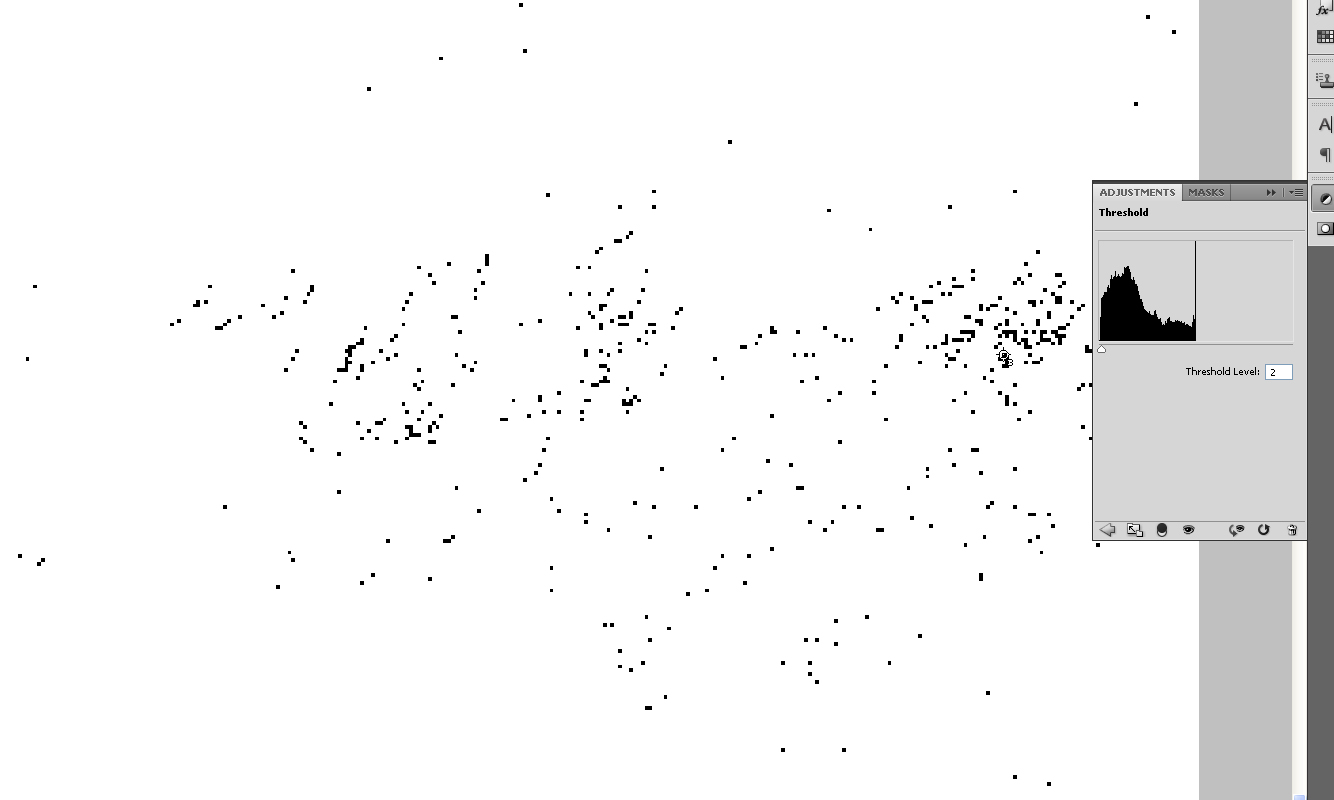
7. Find Grey Point
Now add a threshold to the grey layer and scroll all the way to the left. Now scroll slowly to right until the first details appear. Those are our grey points of the photo. Again while pressing the Shift key, click on the details with the eyedropper.
8. Delete Layers
Now delete the grey layer with threshold. This layer won’t be needed any more as we have set up all the points.
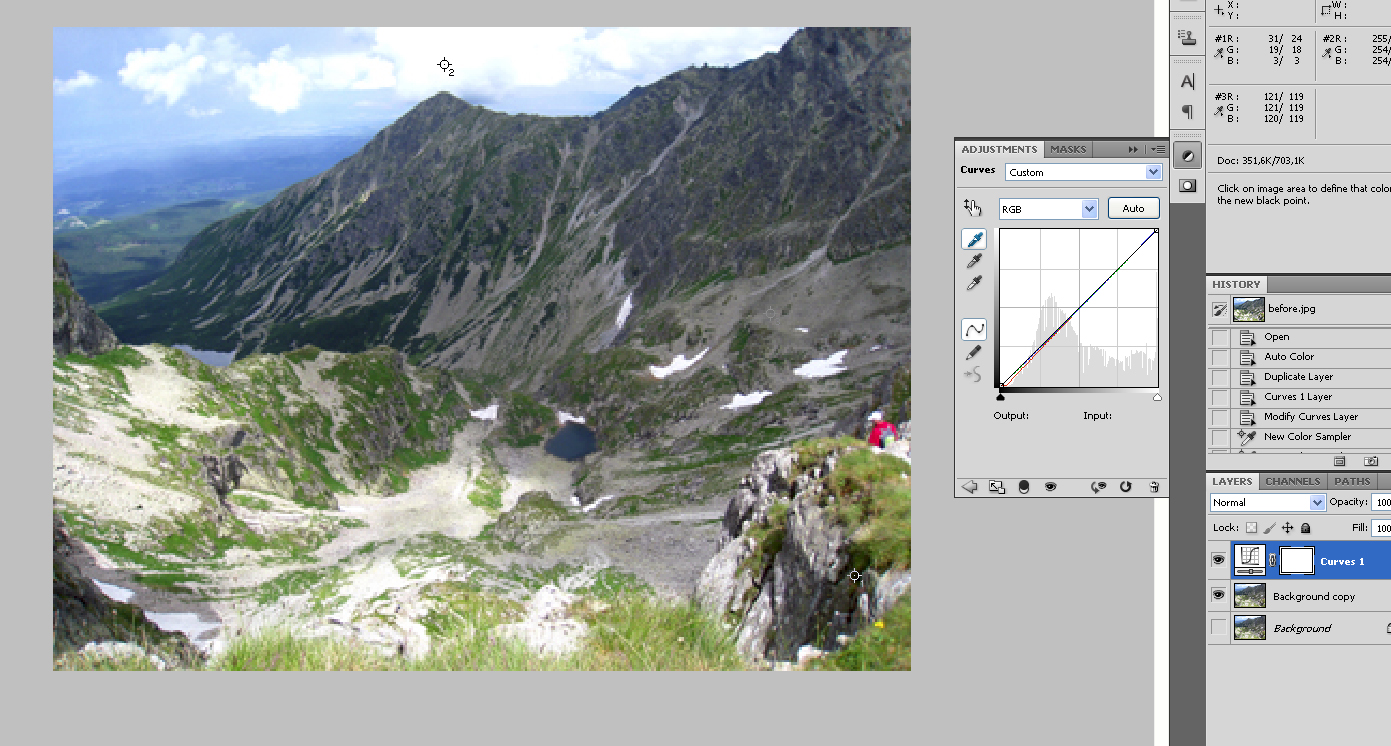
9. Use Curves
Finally to adjust the colors lets use Curves. Select the layer and go to Layer -> New Adjustment Layer -> Curves [Ctrl + M]. There are 3 eyedroppers, ordered black, grey, and white. Lets click on the top one.
Now we need to select the first point we created, so it matches the black colour. To do that press the Caps Lock key. The circle sizes will now match, making it easier to click. Do the same with the rest of the eyedroppers. Then click okay and the final image will be ready.
And that’s how easy colour grading can be!